It’s here!
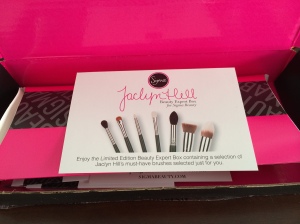
I mentioned this in my post introducing my Lent challenge (a million years ago!), but I have been anxiously awaiting the Jaclyn Hill Sigma Beauty Expert box, and it finally made its way to me! It sold out before I got a chance to purchase it, but after being on the wait list for several weeks, it finally came a little over a week ago. If you’re not familiar with Jaclyn Hill, she is one of my favorite beauty YouTubers, and I love her tutorials. The secret to Jaclyn’s flawless looks are the brushes in this Sigma kit (at least according to Sigma 😉 ).
I was already looking into buying second brushes of the ones I already had from this kit, and the price was right. I know there’s a lot of hype about Sigma products, but I think they’re worth it. Their brushes are not cheap, but they hold up really nicely (I haven’t had one shed, and I wash mine weekly) and really do apply product beautifully.
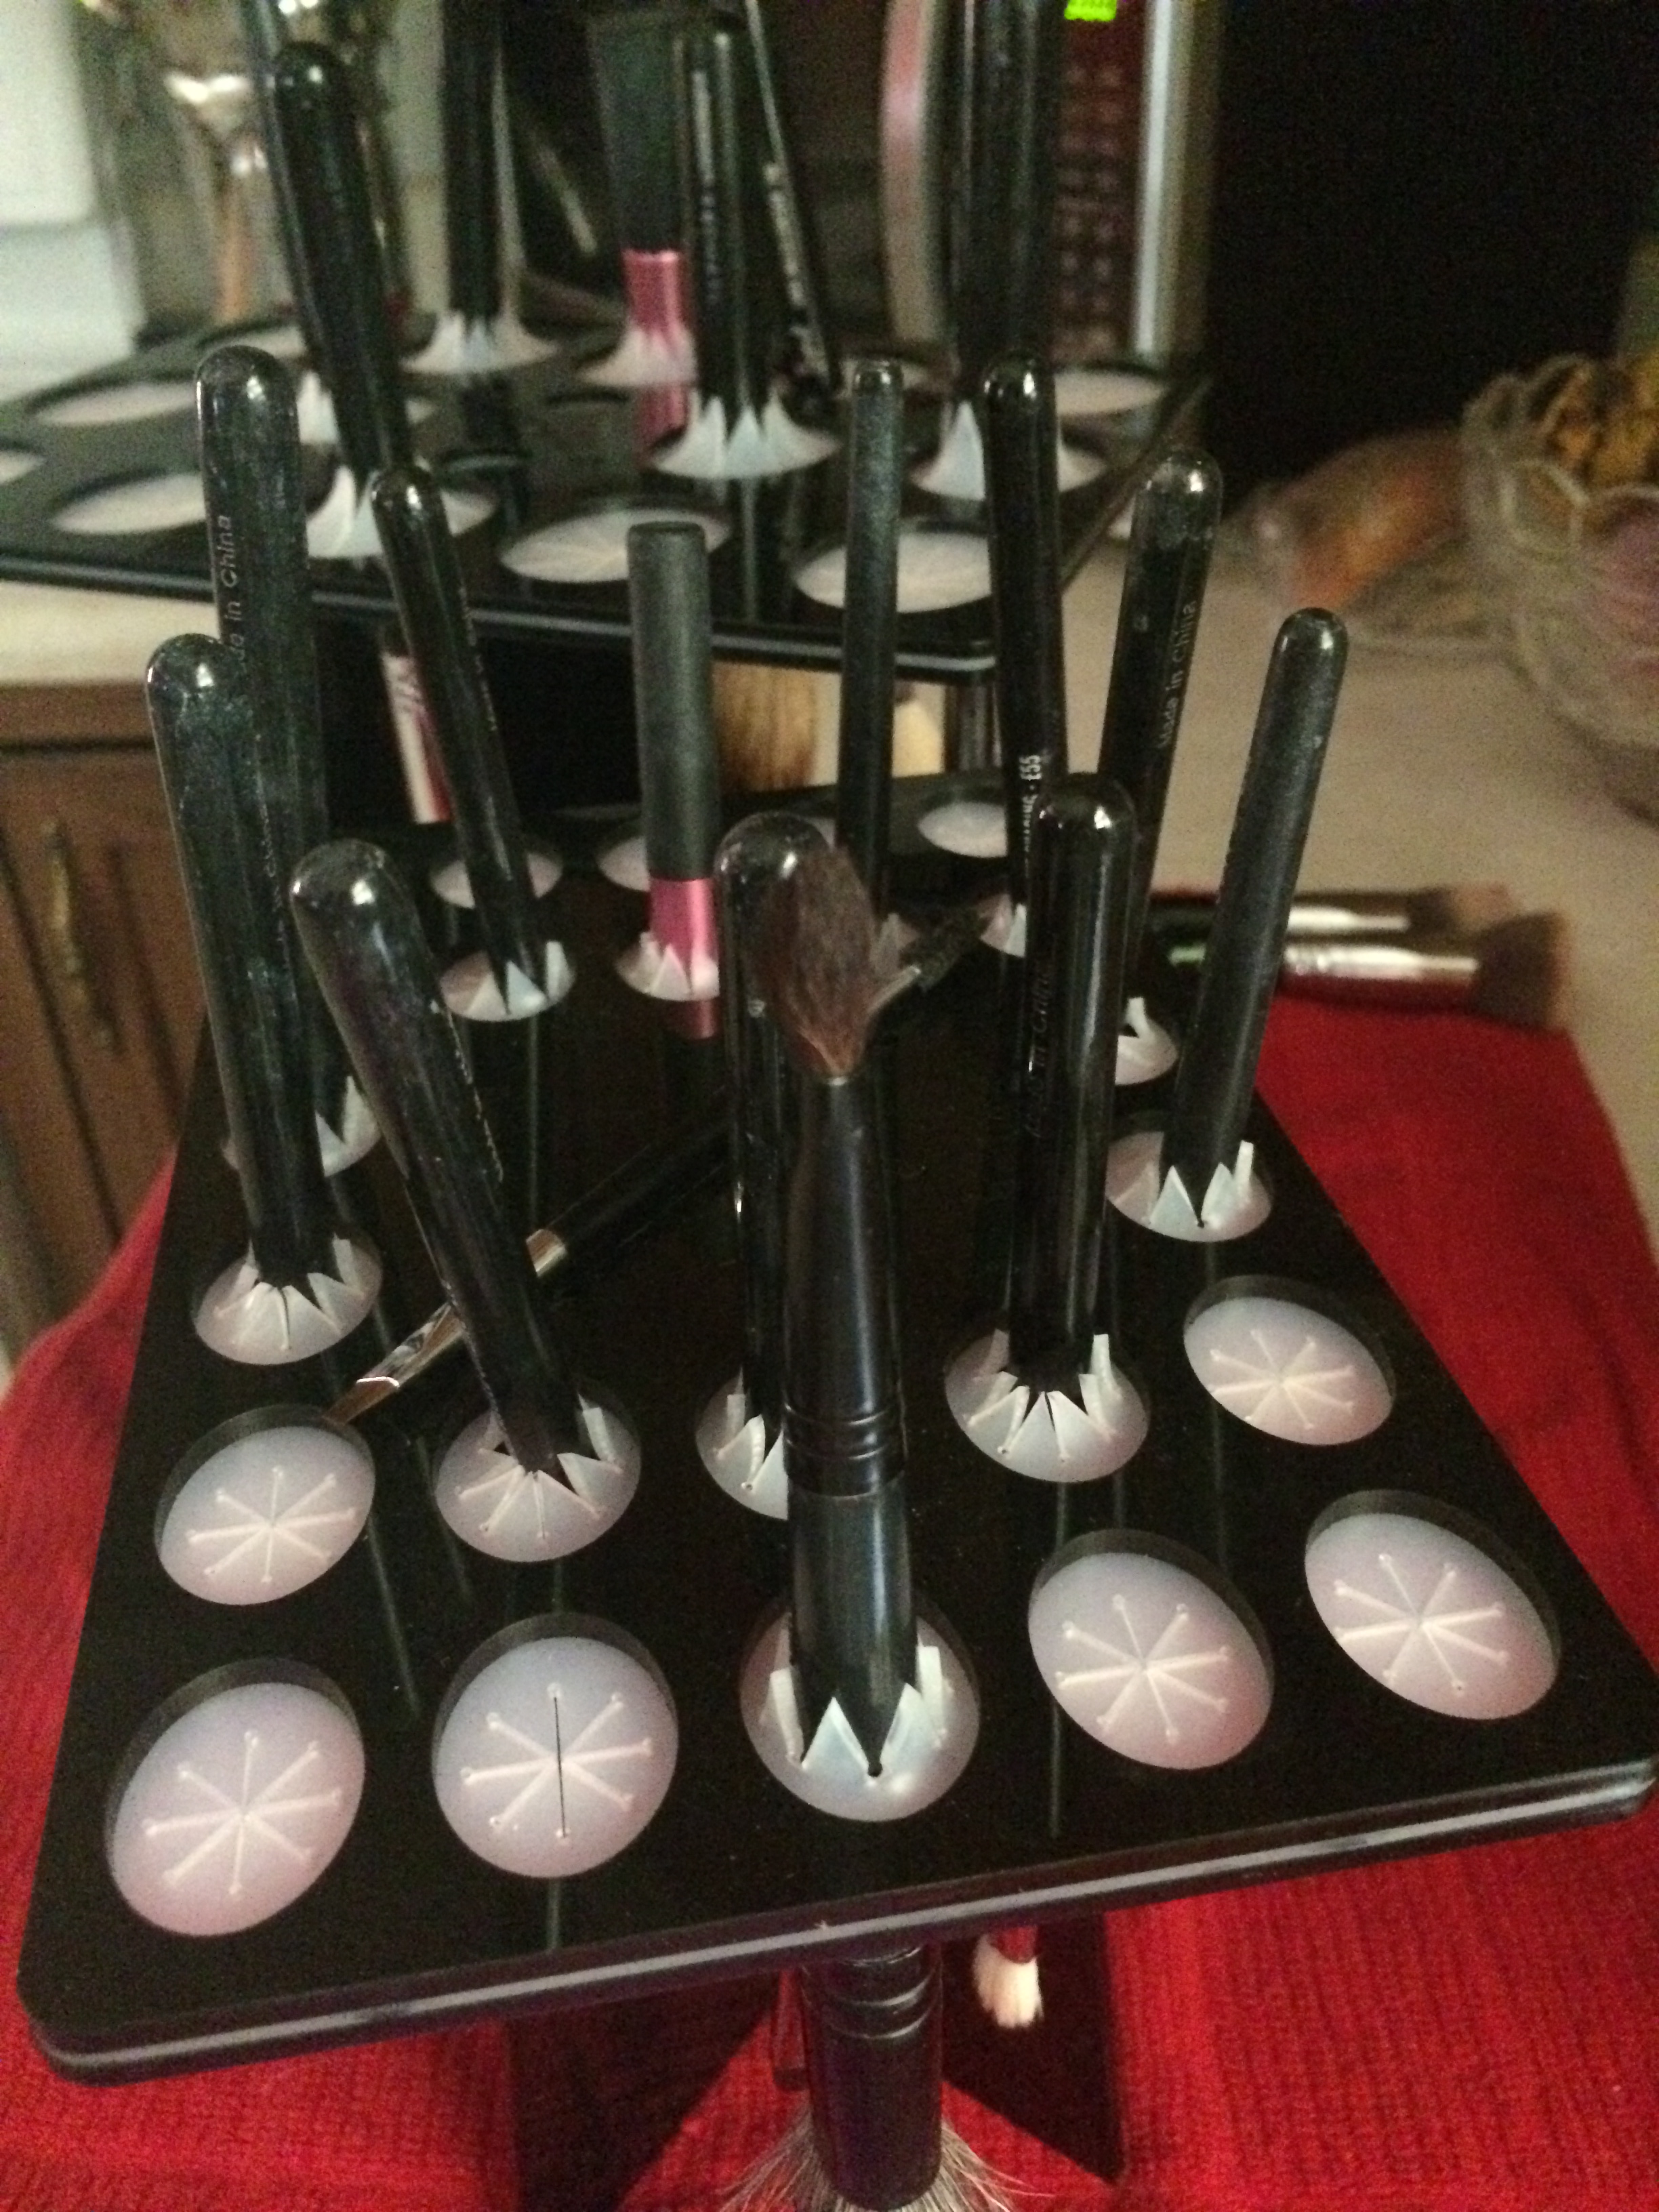
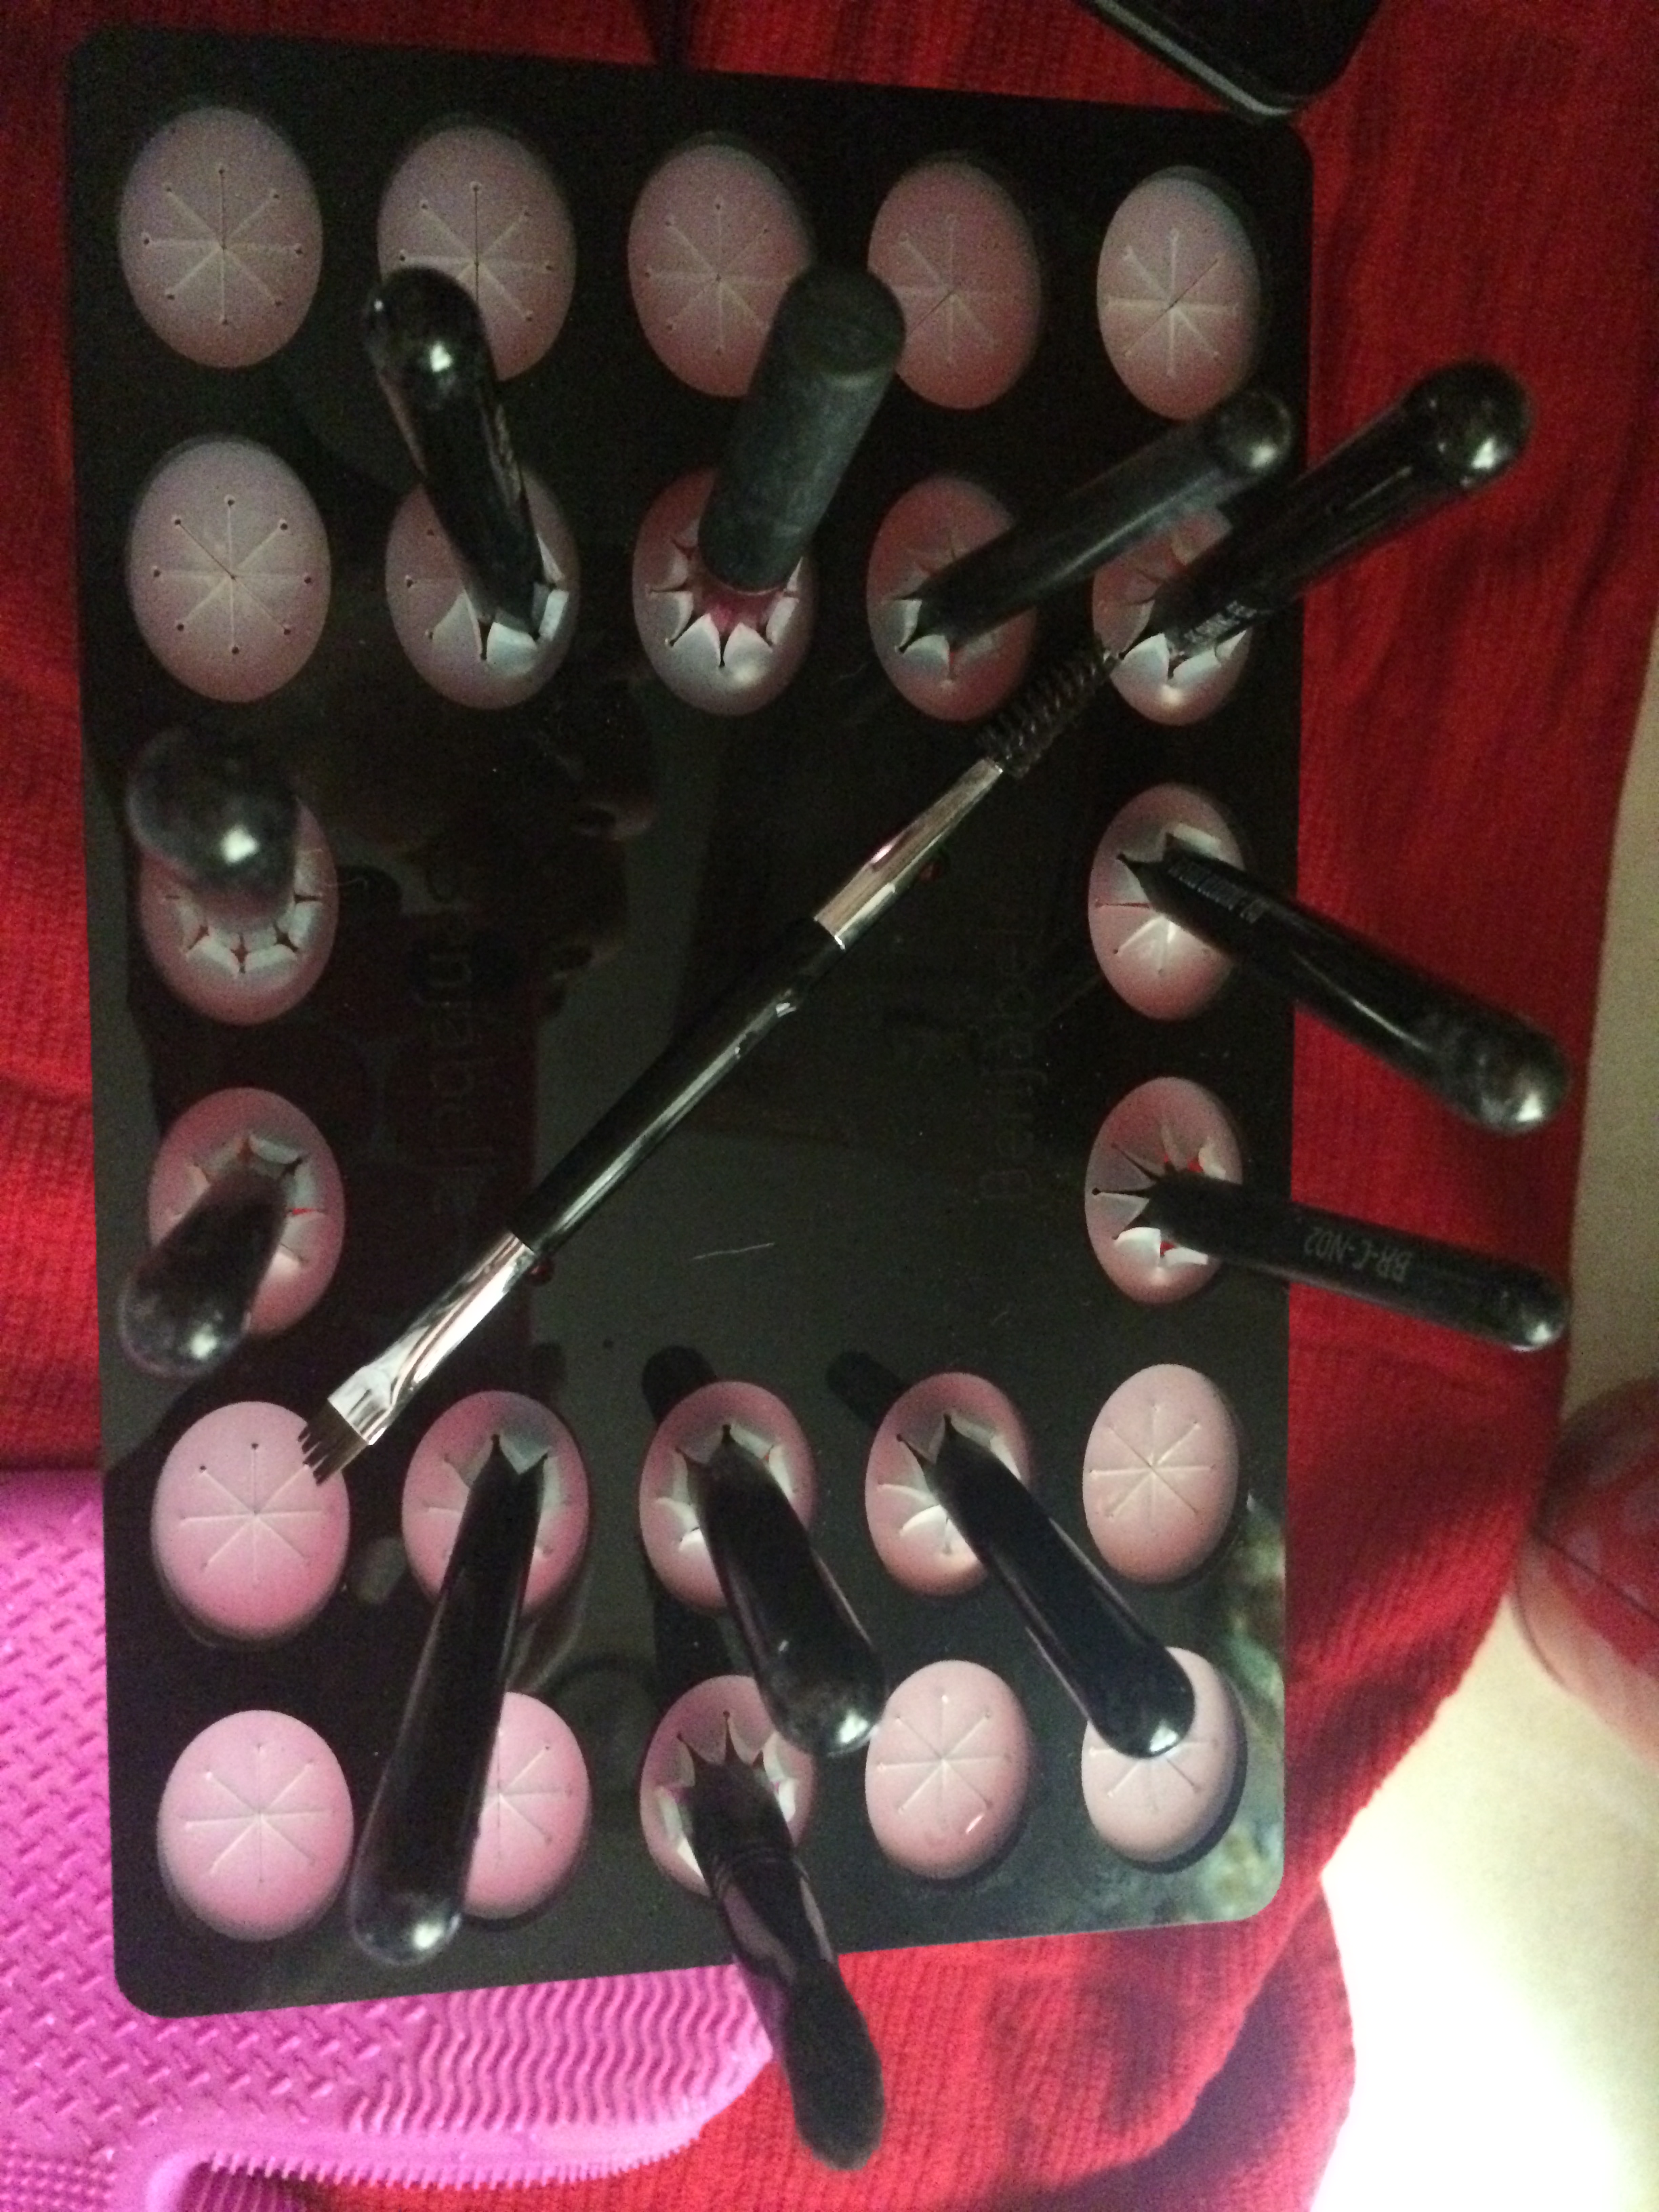
Here are the brushes included:
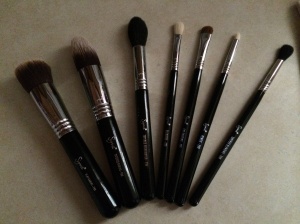
Products listed below from L to R
I already had a few brushes in this kit when my wonderful husband got me the Essential Kit for my birthday last year and through later purchases. However, they were brushes I wish I had two of, and for the price and the other brushes included, this kit was exactly what I was looking for. Here are my short thoughts on the brushes in this kit.

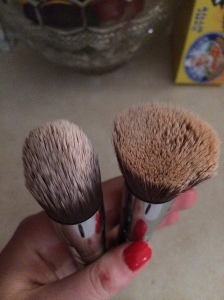
F80 – new vs. dirty
F80 Flat Kabuki – This has been my go-to foundation brush for a while, and I had already been looking into buying another one so I wouldn’t have to wash it so often (as you see above, it can get gross). Its inclusion in this kit worked out perfectly! It’s perfect for flawlessly applying fuller-coverage foundations.
F86 with F80
F86 Tapered Kabuki – I’ve heard a lot about this brush, and what they say is true: it’s perfect for applying undereye concealer. I’ve used it with MAC ProLongwear and my Maybelline Undereye Brightener and it applies flawlessly! This may be my favorite brush in this kit. I seriously love it. Below I have photos comparing it to the Real Techniques blush brush, which has a similar shape. These kabuki brushes are so dense and soft, perfect for applying makeup.
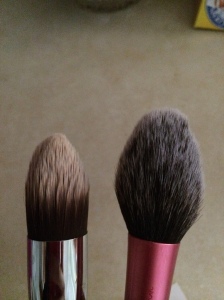
F86 and Real Techniques Blush Brush
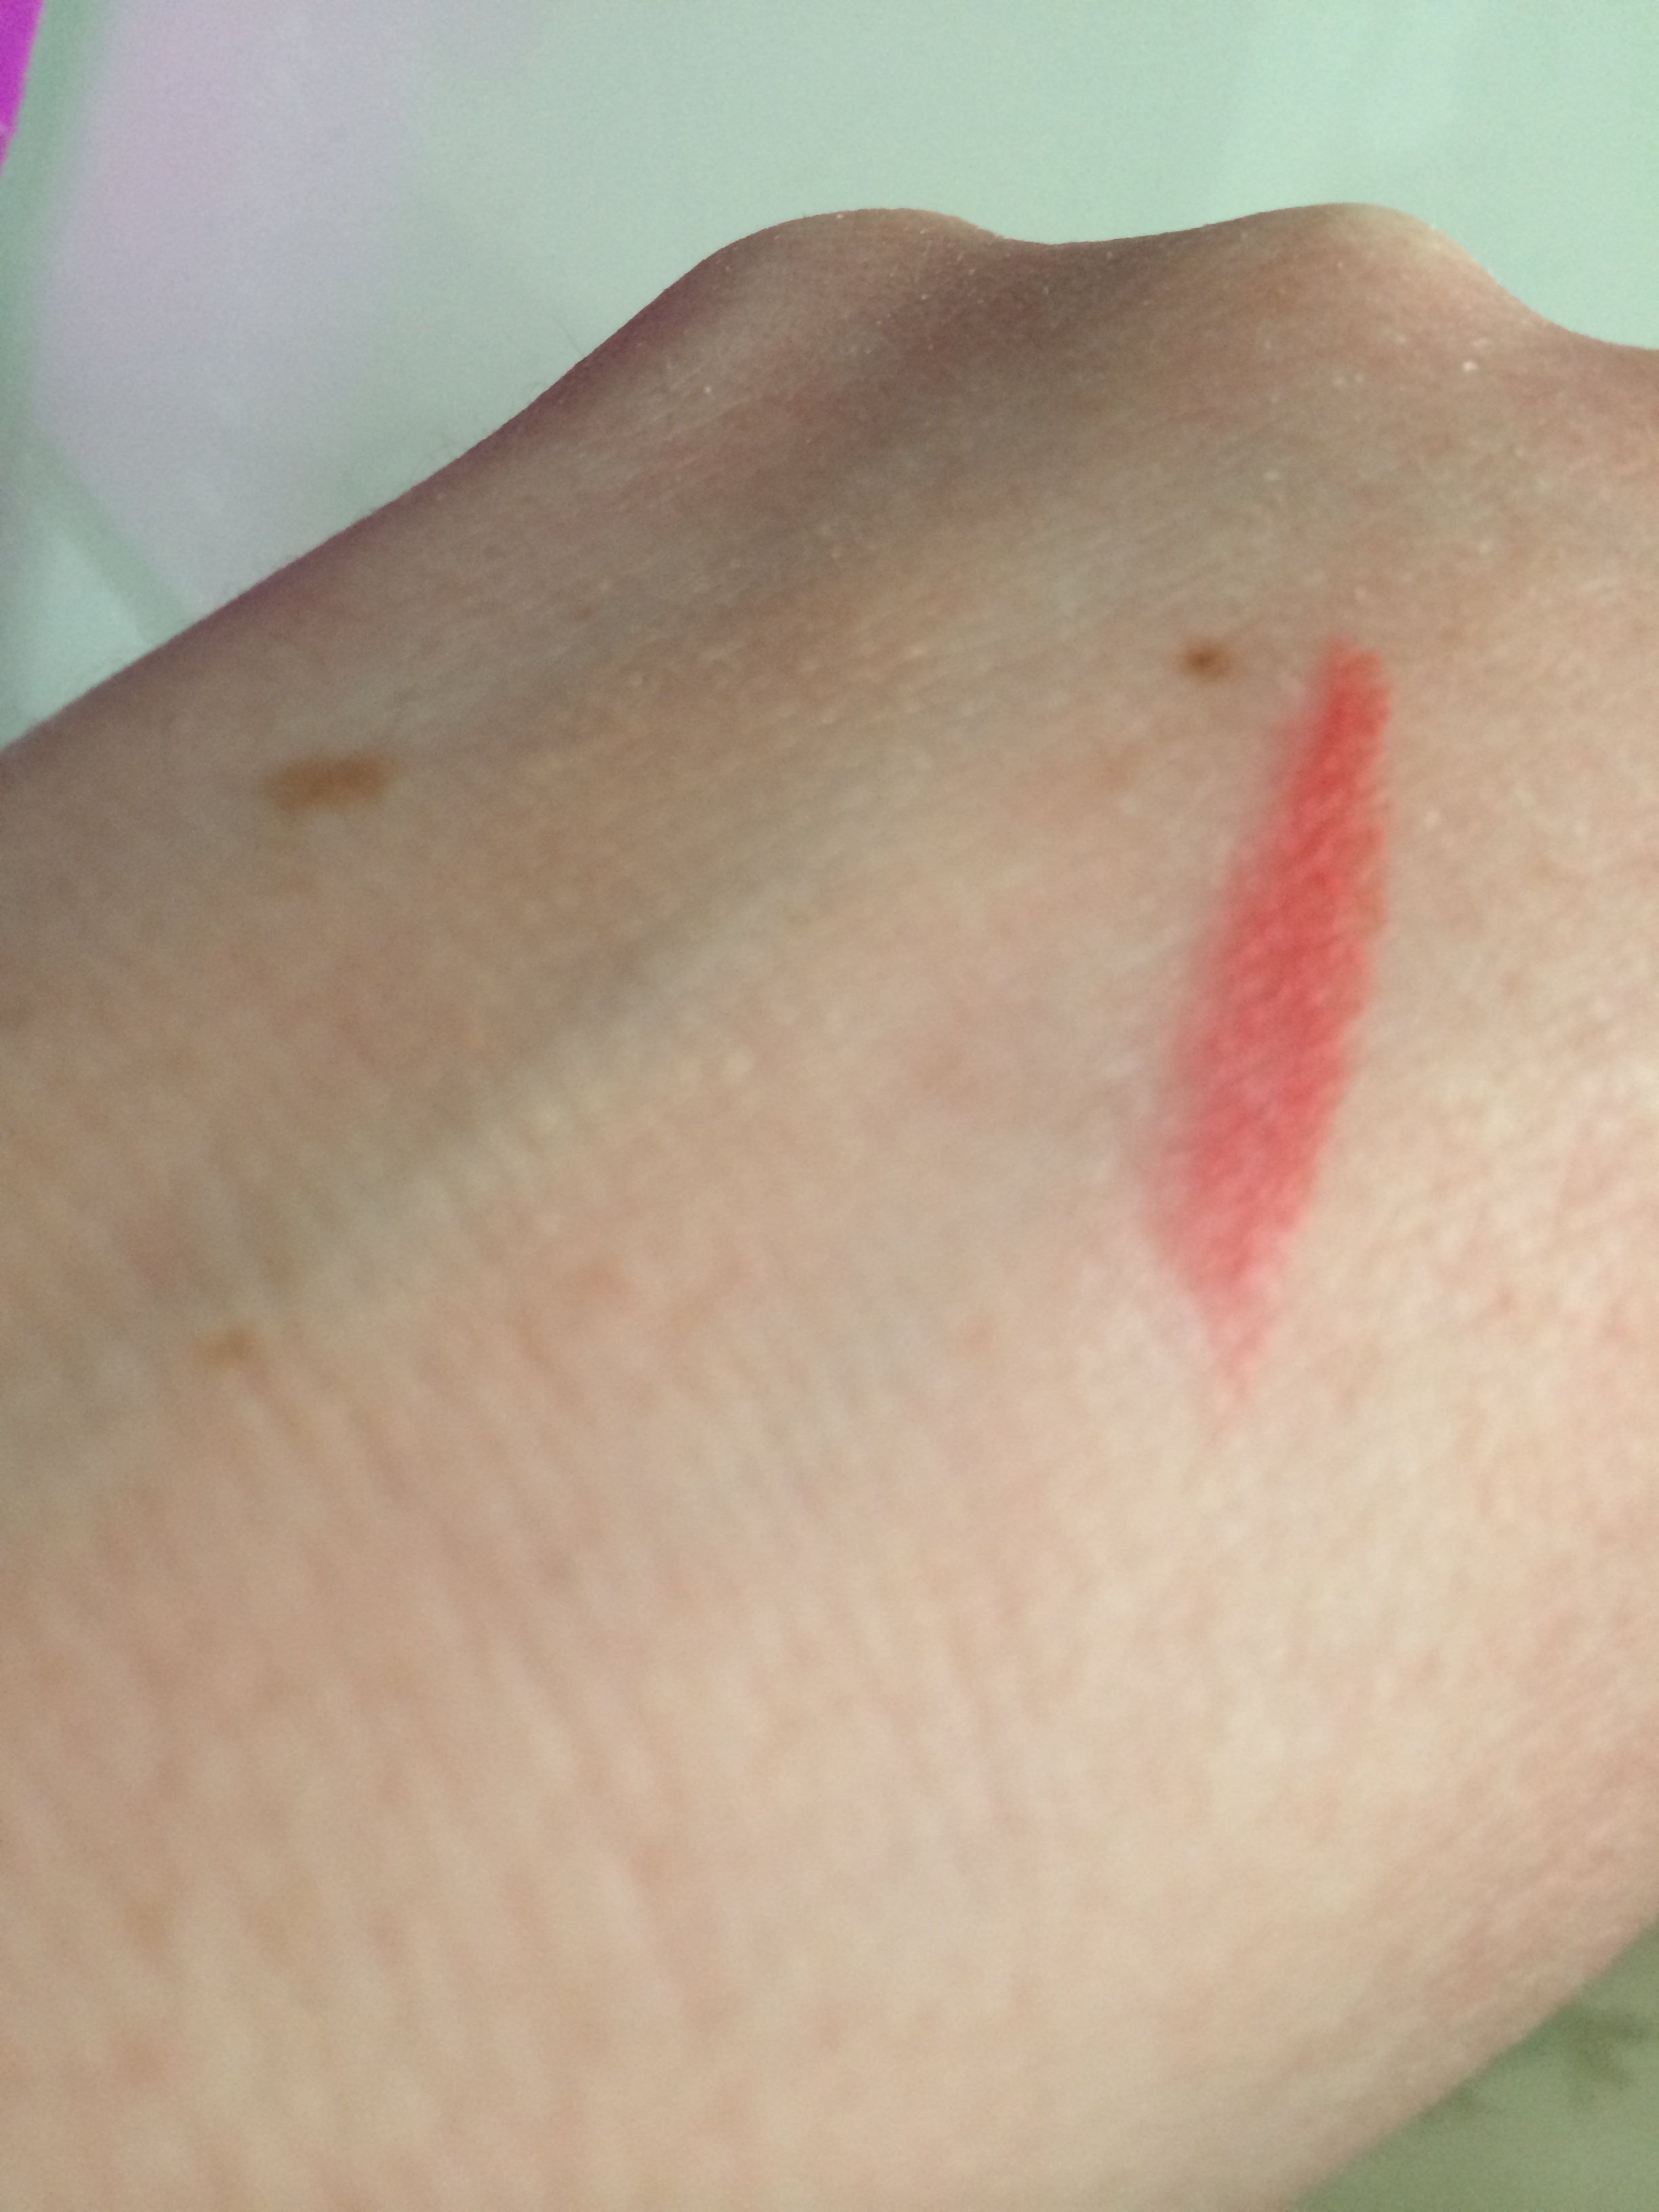
F35 Tapered Highlight – This was the brush I was most excited for. It is perfect for a beautiful powder highlight. It gets right onto your cheekbones and applies the product just densely enough for it to be really visible but not too much.
E25 Blending – I. Love. This. Brush. It’s what I was looking for but didn’t know I was! I’ve used it to deepen color in my crease and for the outer corner. It’s dense enough to apply color accurately and fluffy enough to really blend it out the way I want to. This is an essential for eyeshadow.
E55 Eye Shading – This is a basic eye brush for applying color, nothing too fancy. But it’s useful and a good one to have for all-over lid colors.
E30 Pencil – I honestly didn’t know what to do with this brush, but now I’ve learned to love it for applying shadow as eyeliner on my upper and lower lash lines. I thing it would also be great for precisely applying a really dark color to the outer corner, so I’m excited to play with this more.
E40 Tapered Blending – This was another brush I wanted a second one of. I love having one fluffy one to apply crease color and one clean one to clean up any coloring “outside the lines.” This is so perfect for blending any shadows and is certainly a must-have.
Those are my thoughts! Did I need any more brushes, probably not, but I really enjoy these and think they’d be a good investment. This box is available for a limited time here. Do you have some of these brushes? Which are your favorite?